Today, exactly how one would go about setting a fan page up in the first place. It may be simple for the tech-savvy, but the less experienced web surfers may have some trouble.
Hopefully this quick tutorial helps clear up any issues you may run into. A Facebook page for your group can really help with keeping track of your members’ whereabouts and status. It would be a shame to lose this asset simply because signing up is a bit of a hassle!
Getting Your Facebook Page Started
 If you already have a personal Facebook page, you can click on the “Pages” link on the left in your profile. From here, you can start the process of making your Page. If you don’t already have a personal profile, go to “Create a Facebook Fan Page” to begin.
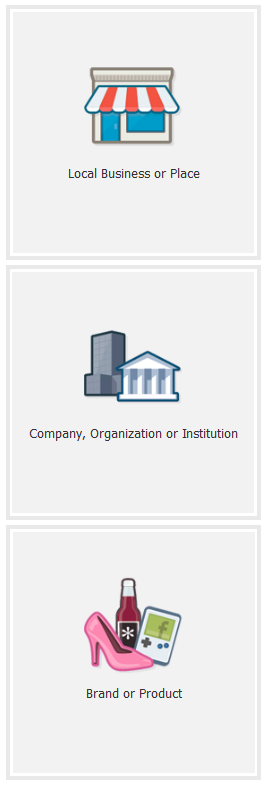
Choose what kind of page you’re making. Setting up a group or organization, you’ll more than likely choose “Company, Organization, or Institution” or perhaps “Cause or Community.” However, if something more pertains to you like “Entertainment,” choose that instead.
Depending on your choice, you may also have to choose a subcategory. For instance, in “Company, Organization, or Institution,” you will have to decide what field your group falls in like “Cause” or “Political Organization.” Now just give your group a name, agree to the Facebook Pages Terms and hit the Get Started button.
If you have a photo to upload for your profile picture, Facebook will let you upload it at this point. If you don’t, don’t worry – there will be more chances in the future. Either upload it from your computer or import it from your organization’s website. Hit next.
Here is where you can tell everyone exactly what your group is all about. Don’t make it too long, but give people enough info they’ll be interested. At the very least have enough about you that your members won’t be confused when they see your page. They’re your audience, after all.
Touching Up Your Facebook Page
Now your Page is ready to go – well, almost. You can technically publish and send invitations out to people as it is, but it’s not exactly pretty.
So now it’s time to get everything in tip top shape. You can add a profile picture if you haven’t already, plus upload more photos if you want. Typically people add pics from events and the like to give users more of an idea what you’re all about. When you add fans, customers, or members to the page, you can (and should) tag them in the pictures.
If you already have access to the new Facebook Page design, certainly, add a Cover photo with the option available to you immediately at the top.
The jury is still out on the use of the “Timeline” design for Pages but every business will be forced to use it at the end of March so suck it up now and explore what we’ll be using next.
| Thanks to our friends at SnapApp for the video tutorial to the new page design and more insight here to getting the most out of the new layout (the tab tips is killer!)
Of course, you’ll also want to head into the “Manage” panel and tweak everything to your liking, particularly the “Basic Information” tab. Here you can add info regarding when you were founded, where your headquarters are, your group’s mission, and any awards you’ve won. Different tabs let you amend different things, including who can post to your page and even specific countries you don’t want visiting your page. Play around with everything to set it up to your liking. |
Now all that’s left is to click on “View Page” at the top to check out your Page and start adding friends! If you created your page from your profile, you can add friends through the “Build Audience” menu.


